DIY


UPDATE:
ugh! i would find this app at the end of its light.
its actually no longer an app anymore since July 2017.
so this post is now useless. lololol
----------
let me preface this with: I'm SUPER, PRETTY, POSITIVELY, 97% sure that there is an even easier way to do this.
BUT i haven't found a single way that has worked for me (and i have absolutely no knowledge in the photoshop world whatsoever!) soooo, that's why i'm writing this.
whenever I've googled how to's, its led me to apps that work great to make gifs on my phone but once i try to share them on ig (or anywhere), it stays on the one picture rendering it useless for me.
I've googled other ways but nothing has worked for me. i don't really have tech-savvy people around me so it's not like i can ask. and I'm more of a visual learner so even reading how to's online are a hot mess. and i mean, where can i take a class? (besides like college or whatever)
so then yesterday, i don't know why, i decided to try and share a photo from my phhhoto account to see if it worked just like that.
and....., it didn't.
it didn't attach a picture but it gave me a link.
so i hit save and went from there.
anyway...., here's a step by step cause i tried explaining it earlier and I'm not sure it made a lot of sense.


you go to the app and click the little arrow facing upwards and then you get a menu on where you can share it.
you click blogger (not sure if it'll work on other blogging sites BUT! if you email it to yourself, you can essentially do the same thing which is, saving it on your desktop so you can upload it) and just save it so it's saved on your drafts and you can finish your posts off on your computer later.
if you want to do multiples, i suggest sending it to memo so you can just copy all of the links at once instead of doing it one by one.

well, the code you emailed yourself anyway...

click the little download logo and it'll open the picture up for you.

right click the picture and you save your image.
all you have to do is rename it so you can find it on your computer later.
and that's it. (that was easier than i thought)
once you save it, you can go to your draft on blogger and just upload the pic and you end up with a moving photo like up above.
it seems pretty simple but honestly, i just figured it out yesterday.
I'd been wanting to post gif like pictures but i wasn't able to because i didn't know how and then yesterday, i caught a lucky break.
UPDATE: before i even posted the post .______. if you have the phhhoto saved on your phone (like after you already posted it on the app), you can skip all this and just send it to a draft straight from your phone. i just found that out lol. it'll load as a plain picture but when you open up your draft on a computer, it'll do it's little dance. i can definitely see this route working WAY better if its only maybe like 1 or 2 pics that you're uploading. from personal experience, if it's more you're uploading, i recommend the way i mentioned. only because i think it'll lag uploading. you have no idea how many pending posts i have on my blogger app because i didn't have proper Internet or wi-fi to complete the job.
and now that i know how to do this, i might share a couple of my favorite phhhoto pics!
i'm pretty sure that phhhoto is (or was?) popular so i don't need to talk it up but i like it cause it has all sorts of random filters. i think every time they release a new one you can try it out for free. otherwise, you can buy them...but its pretty cool for me right now for what i don't really need it for. it's as simple as can be...
anyway, that's it.
thanks for reading!
hope this helped!


hey guys!
just popping in for a suuuper quick diy!
i know emojis were the thing last year but i REFUSE to let them go.
they're too cute not to use them all the time!
B's sister is having a huge bday bash this upcoming weekend and i somehow ended up in charge of a few props (not these).
i wanted to make some emoji faces for her but i was 100% too lazy to try to cut perfect circles. or at least sorta perfect circles so i was going to let the idea go.
luckily, i ended up at ikea with my mom and i saw these and ding ding diiing! idea lights went off!
from then on it was suuuuper easy to finish em!

supplies:
-cork boards (the link above is for amazon. i couldn't find them on the ikea website but they are waaaaaay cheaper in store. like $3 and change.)
-brush. (brushes?) i used the one in the picture and a smaller one and would rinse in between colors. but really the big one was only used for the yellow and the small one was used for everything else.
-craft paint in colors needed. (i used yellow, red, black, baby blue. for the white i used a chalk ink marker cause i didn't have the paint)


super easy to make.
i painted them yellow and let them dry overnight.
then i just free-handed everything with pencil (except the hearts. i had a little cut out for those). the mistakes i made were easy to erase and you cant really see them once you erase them.
i made faces in both the front and back
I'm horrible at drawing so this was the best that i could do.
i cant wait to see how many people like these!!!
I'm super excited for that photo-booth.
and I'm not even kidding but I'm bringing a few of these back with me cause i love em!
thanks for stopping by!
(#lesdiys on ig)


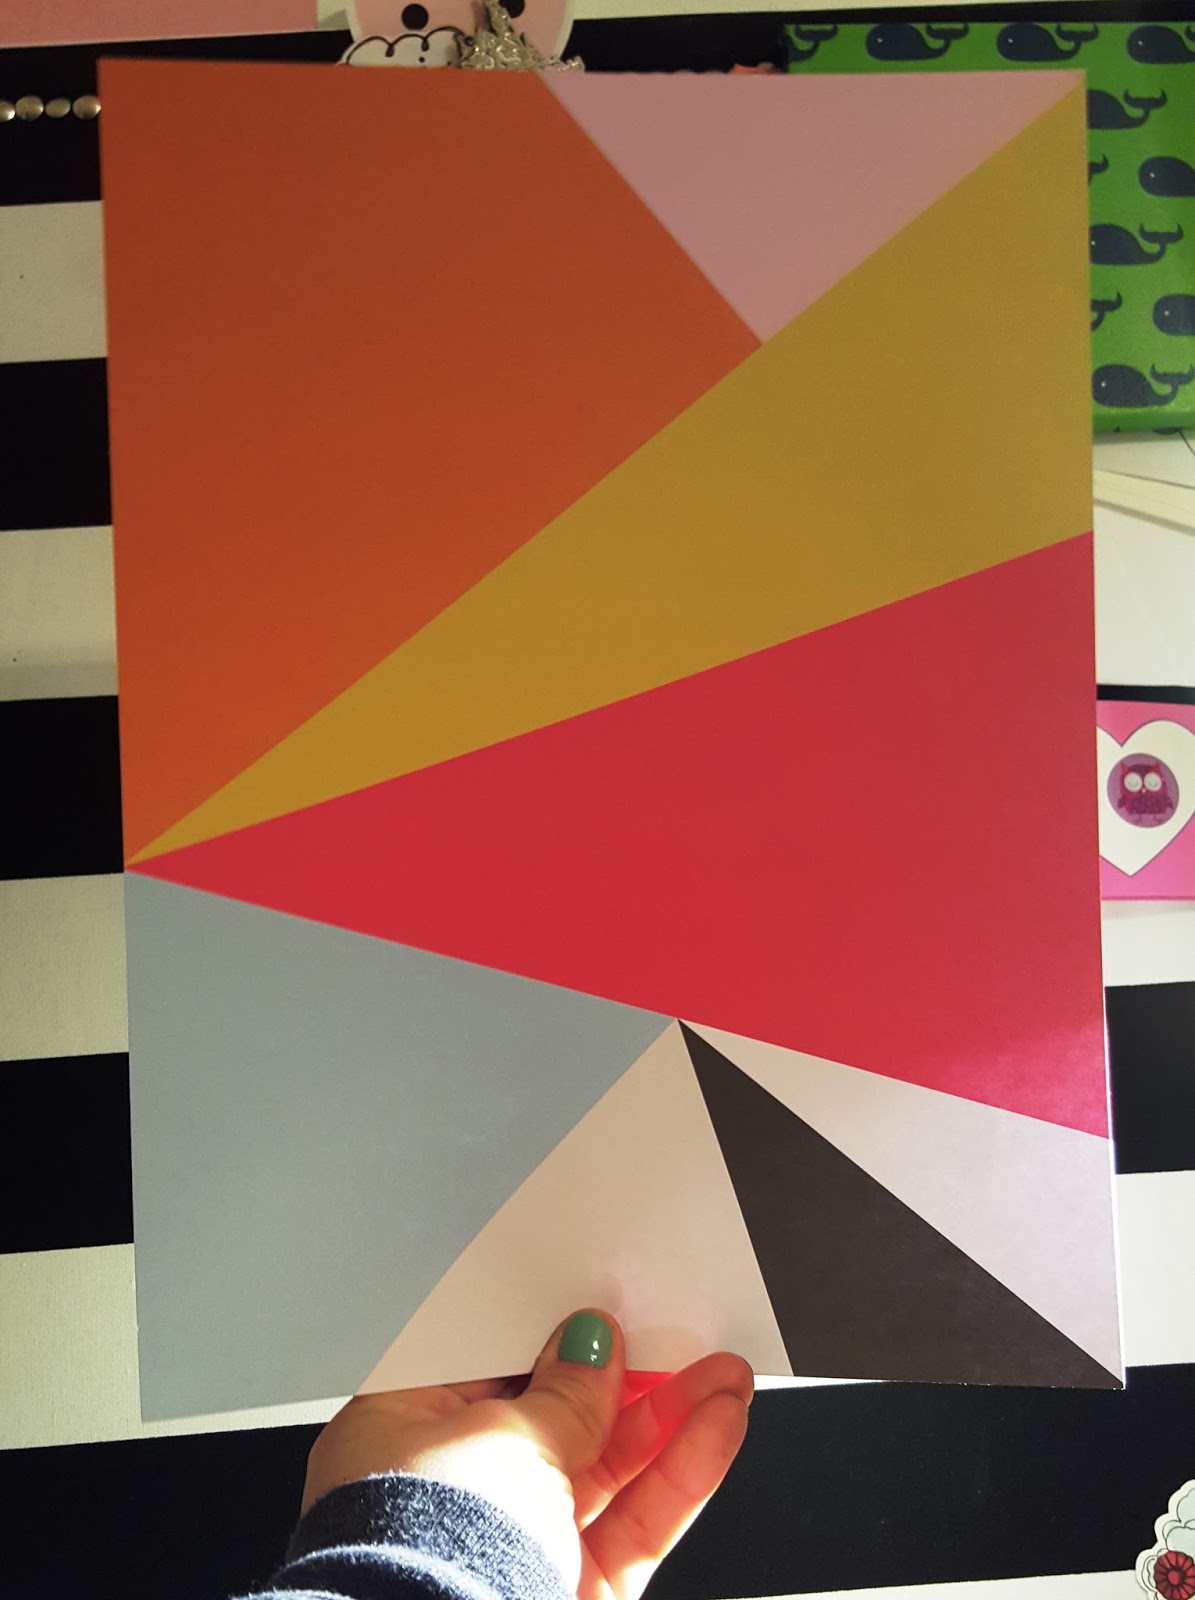
do you ever have a moment where you're like "oooh! this is the perfect diy moment" after not dying for like 75 hundred years?
i'd seen this diy a looooong time ago and i thought it was perfect to send to carlee for her birfday!
for some other odd reason i bought the abm messy box when it was on sale so i have all this paper laying around since im (currently) anti scrap-booking.
anyways, you can go to the link above and be super fancy about it (i wasn't cause i don't own a cricut! insert mad face emoji) and well this felt more personal! and i love those bando stickers!!!!


i cut a little clear box from some transparency paper i had and i used that as my template to cut them all about the same size.


i arranged em how i liked and then i taped the back with some regular tape and then some confetti washi tape for a little pop. (sorry for the crappy pics. i have a very horribly lit room.)

as jimmy pesto would say "ta-dance!"
you cant really see it all that well but once i was done with it i was tempted very very much to just keep it for myself. soclose!

then i packed it all up nicely in a card and sent it her way! (:
happy birthday Carlee!!! hope you had a great one! :*


hey guys!
we celebrated B's birthday yesterday and being the good girlfriend that i am, i made him a homemade giant jenga set! (:
he loves playing this. specially at breweries so this was a no brainer as a gift.
i dont have a step by step because its thaaat easy to do buuut its also available here.
but just in case (because it involves math and i haaaate math!) you will need:

- SIX (6) 2x4 pieces of plywood (96 inches in length) the smoother the better.
- you will then cut them in to 10.5 inches.
- **side note: abm's jenga calls for 48 pieces. i didn't realize til after i started painting that i actually had 54 pieces. while i don't think there's a "limit" I'd stick to the 48 and save the other 6 in case a piece gets busted. (okay i realized, i just didn't think to save the 6 extra pieces.)
- your choice of color of paint. (as many as you want!) i chose 6 and went for an ombre look (in blue because that's his fave color) craft paint works just as fine as regular paint (as used in the abm tutorial) craft paint in my opinion just happens to dry faster.
- since i did 6 colors, i only used a little bit of each color so 1 bottle of each color was more than enough for me. it could vary depending on the amount of colors you chose to use.
- x amount of brushes for your paints.
- a sanding block to sand down the sides so you can paint them well.
get to sanding down the sides and paint away! it took me about 2 hrs to sand down and paint possibly less. the wood in total cost me about $18 and change. the paint cost me $7 because i bought 2 bottles of each color so its way less than that cause each bottle is $.69. the brushes i already had as well as the sand block.
im thinking less than $30 for sure.

this was a hit!
every Sunday there's a family bbq at his house but because it was his birthday, everyone was there!
all the grown ups and the little kids played a game and whoever won got to write their name on a block of their choice.

we played against Sophie and Steve and thanks to Steve, we won so i wrote on a block!
woot woot!
couples jenga for the win!

once everyone was gone, we had a one on one beer pong game and miraculously, i woooon!!!
 |
| custom donuts from CA Donuts |
over all, it was a great day. he says he had a blast and im so happy!
here's to our first of hopefully many birthdays to come together!
happy bday babes! <3


i know i always say im excited for a post so it might lose some credibility but you guys! a) i LOVE this post! and b) its a good thing they all excite me amiright? cause what would be the point of a post if i didnt care for it!
okay okay. enough!
the last time i was at Disneyland i kept thinking to myself about how i wanted to make something to send out to a few pen pals of mine for vday and this cute a little idea came up.
sorry for the super crappy pictures buuuut i was working by candle light (small Ikea bedside lamp) since i was up doing these at 3 am. i slept all of Saturday so i was up all Sunday night and i didnt even care how late it was cause i was soo excited to get these going!
 |
SUPPLIES:
- felt sheet of color choice
- i bought pink and red. 6 sheets of each color
- needles
- thread
- to sew the hearts together and to create your garland afterwards (for that i used twine)
- scissors
- stuffing
- cardboard paper and a marker
INSTRUCTIONS:
depending on the size of your heart (and for sure the layout) you can fit up to 6 hearts (3 complete hearts in total) per felt sheet.
in the picture above you can see my pre-cut heart (and several attempts) and the basic layout.
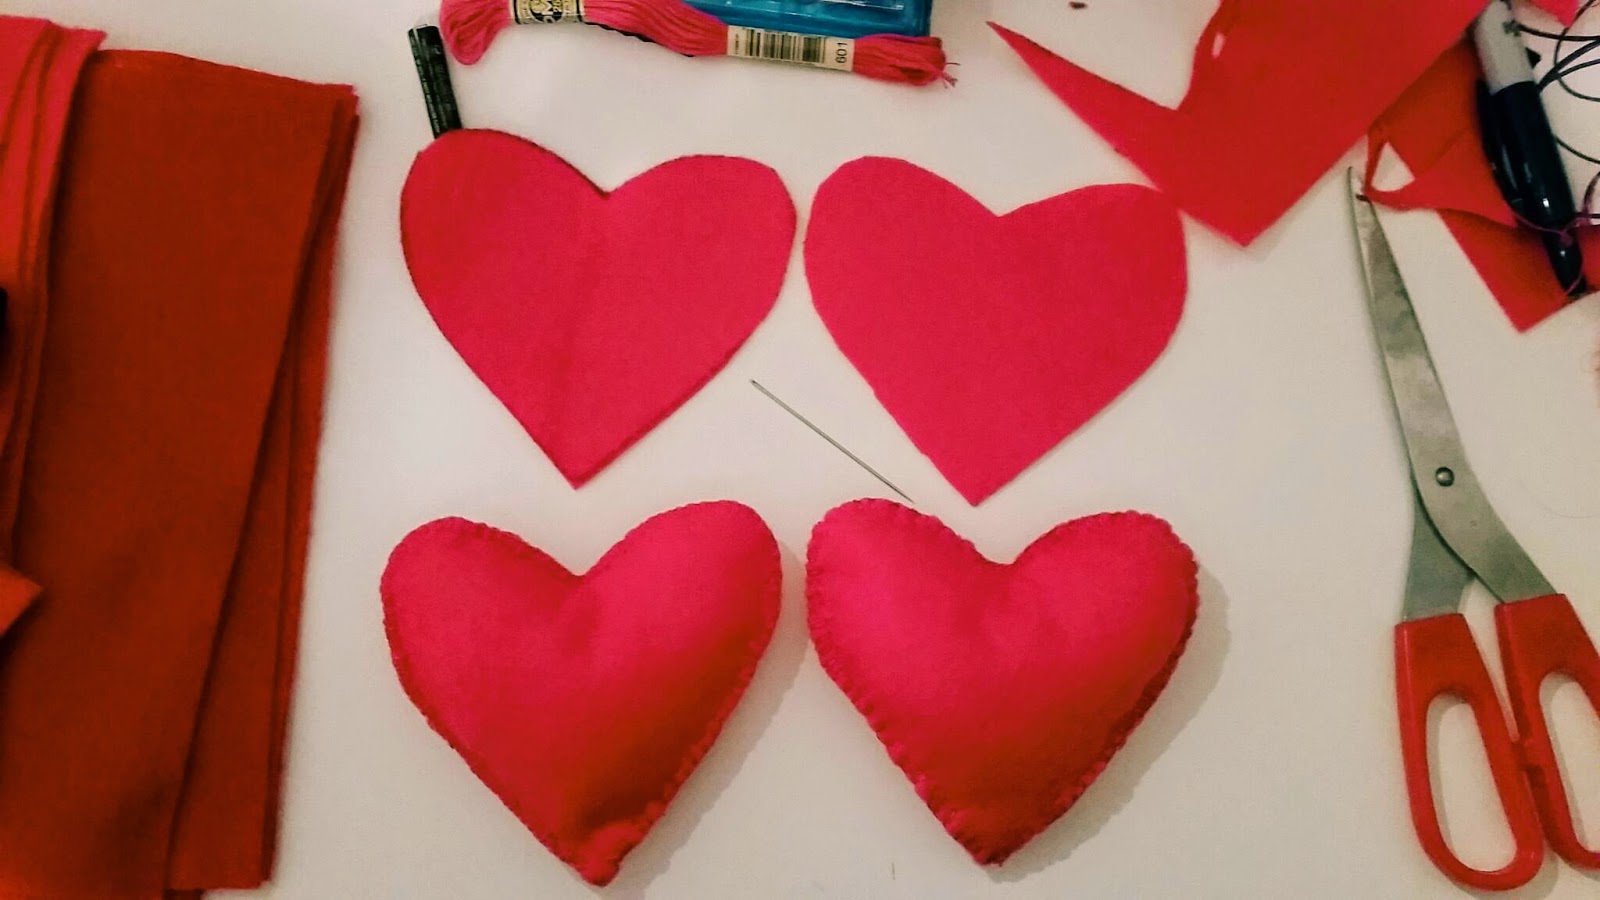
you can use any type of marker/pen/pencil you feel comfortable with to trace on to the felt BUT make sure that you use the same tool for ALL the hearts otherwise they will come out different sizes.
all the pink ones were done with a sharpie and the red ones were done with a dry erase board marker so they were different sizes. (seems logical but ya learn the hard way!)
for the stitching, i was doing it the hard way then my mom showed me another way to do it (see above) so much easier! im sure there's a proper name for it buuuut im not going to get all technical with you. start from behind and bring it to the front. when you pull it almost all the way through create a loop and run it through and repeat.
(just see pictures above im sure i did a horrible job explaining)
i wasnt uber picky about how the front (or back) of the stitching looked, i was more about the side view

doesnt that stitching look pretty!!! insert heart eyes emoji. also, thanks mom for talking your shit about my original stitching.

once you are pretty close to the end, stuff your heart!
its ridiculous how much fun i had with that part.
of course on here the side stitching looks like a mess but once you're done with the stuffing you can adjust it and fix it so it doesn't look like its bursting its guts.


overall i spent about $14 on the supplies i needed (thread, felt and stuffing) i got them all at Michael's and i had a 50% off coupon so it wasnt that bad! i got 34 hearts out in total (2 died :( and i have 2 left over.)
its sort of a time investment depending on how AMAZINGLYGREATOMGOPRAHCANTMAKETHEMLIKETHIS great you want them to be. im not super picky so it took me around 3 days (on and off of course)
i made those 8 in like 4 hrs but that also included the tracing and cutting and matching of the hearts.
afterwards it'd take me like 7-8 minutes to start/finish one.
once i had them all done i just ran my twine through the back (sorry for the lack of picture on that but you can see what i mean here.)
this also works very well with letters. as seen here. in fact, im sure they are the inspiration for these little hearts. i know i forget basically everything i do pretty quick but that post stuck with me! ta-da!
im sending these out to a few gal pals of mine. im sooo excited for them to receive their little valentine's day package.
thanks for reading!


i don't think Ive ever been this excited for a post!!! :D
so by now you all know that my one thing in 2015 is to get out of debt as much as possible. so serious, i got a second job (yay!)
last year, my saving got pretty much depleted because it was just one thing after another and then our roof decided to crap out and i had no choice (being man of the house is some serious sh*z!)
that kind of discouraged me; to see my account get so low bummed me out but i still kept saving.
the thing with me is, if its in the bank and i NEED the money, i can just transfer it on over (savings -->checking) and while that's always a good thing, i hate it cause its there. im usually VERY GOOD about not touching my savings but when i slip once, it sometimes sticks and boom there goes the dynamite.
i was surfin the web the other day and saw this article about 10 top ways to save money.
typical stuff:
- stop buying expensive unnecessary designer stuff (doesn't apply to me. the most expensive shoes i own are my converse...that were gifted to me. ._.)
- do a monthly transfer from your checkings to your savings account (already have it set)
- stop buying expensive coffee every morning (i don't even like coffee!) and juices (i hit up Jamba once every 6 months and even then its when they have their going back to school sale.)
and a bunch of other stuff. you can kinda see the dilemma, if you're already doing those things (not shopping//not buying coffee everyday (or at all)//transfers) then you're kinda screwed cause what can you cut back on?
i don't shop often. i swear the last time i went shopping for clothes was last month and that was only because i needed new jeans but previous to that i cant even remember.
any who, the one piece of advise that stuck to me was "put your money in an envelope."
plain and simple.
you can choose the amount and every time you get paid, get said amount out of the bank and stick in the envelope.
so that's what I'm doing this year!
that long ass post just to tell you "PUT YOUR MONEY IN AN ENVELOPE!"
I'm sticking to $20 a paycheck. that's $520 at the end of the year or $1,040 if i do both jobs (which im sure i will!) also, i think ill also be putting any extra dollars i have left over the day before payday in the envelope as well.
i also want to stick to having cash on me because a) its true, it hurts to let it go when you pay with actual cash and b) i hate that transactions forever sit on pending status when i check online! also, i tend to hit up places that only take cash and i DEFINITELY WILL NOT spend $4 at an atm machine to take money out.
so there it is. stick yo' cash in an envelope and save yo' money hunny!!!!
haha.
what an odd (ish) post.
i hope it helped cause i know when i read it it basically rocked my world!
plus, anything that gets me decorating and crafting; im game!!!
thanks for reading!
*i placed it under the DIY label cause, you get to diy your own envelope and well, isnt any time that you get to decorate something basically a diy! :D

oh string art...you are, well you.
i love you! but you are a pain!
.
as you can see, i was inspired by the lovely Jen.
I've seen this trend everywhere! (seen here, here and here!) but I'll admit, it was Jen's that made me fall in love with the idea of it.
EXCEPT that i couldn't commit to the idea of doing it on my wall....i know myself well enough to know that id mess it up one way or another so i definitely admire Jen for her commitment!

supplies:
-string color of your choice (i started with black ended with orange)
-nails (of your size choice)
-paint (i used craft paint and you only need 1 bottle. you wont use it all)
-hammer!
-wood to your size liking (i did 8x11.5 because i already had hooray printed to that size)
-print out of whatever you want to string (i had an extra Hooray from my brothers birthday)
-tape (i used washi)
paint your wood and let dry! i did two coats and they dried fairly fast so i was already stringin' (is that a legit word?) that same night!


once your wood dries, place the printout letter over the wood and hammer away!
and when you remove the sheet, this is what it will look like (see above). you might need the sheet again so be careful when removing it!
(i did end up going back to add more nails to the H. that letter was so effing hard to string!!!)

see what i mean!? i hated the H...i must have tried it 100 different ways.

(ha! bad example to use!!!)
i wasn't picky about whether or not the nails lined up and maaaybe i should have buuut i didn't....so i did the next best thing and used washi tape and went from there. i also used a nail filer. as i was doing the O, i would follow along with the string just to make sure that they way i was nailing in the nails, would make sense when I'd string 'em later. this is the first O i made and i loved how it came out so i think its a good idea to use if you're just free handing it like i was.
MENTAL NOTE: buy a ruler les

when i first started putting the nails, i started with the basic spots like the corners and went from there on. just a guessing game for me.
(sorry that I'm being so horrible with this!)

once i was done nailing all the nails on to the wood i started threading.
i didn't really snap a lot of pictures of the process cause well that part is entirely up to you. do your own style!
for some letters i went on the outside of it first (seen above) for other words i did the design first then the outside.

this is the final result!!!
that H!!!! gah!
i feel that the second O and the A can be filled in a little more but i love how it came out!
if ya make something leave me a link!
id love to see what you made.
im at work today but i have a feeling when i get home in going to go room-cleaning crazy so ill post a pic later on once i do put this up on my wall.
cant wait!!!
thanks for reading and happy Saturday! (:


have you ever wanted to make a garland but you've been like ?
i know i have!!! :D then i read this article and boom! apparently its really easy!
i wont lie my first try was a mess (mostly cause i was being fussy about it!) but yesterday in the midst of cleaning i though Hey! why not.
sho'nuff. it worked out! (:
materials:
- tissue paper of your choice (oh! the possibilities!)
- scissors // x-acto knife (i used an x-acto because it was way easier to use!)
- string of your choice
- washi tape (optional)
- cutting board / matt (i used the back of a "thats what she said" banner sign thing from the office that i got from target lol)


fold your paper in half the long ways then half again so you can make 2 sets of sheets out of one sheet.
reason why x-acto knife is easier to use: you can cute lines without having to lift paper to check your lines.
also, once you cut your 2 out of 1 sheet, you can layer them on top of each other and cut 2 in 1 so you dont spend twice as much time cutting lines.
--when cutting the lines, make sure to leave enough space on the top so you can have enough room to fold and twist them once they are rolled.

once its all cut it should look all cute fringe-y!

you open it up and then roll it.
at first, i was rolling it super carefully but by the end i learned you can actually fold it down; you get the same results.

once you roll it, you twist it as far as you can.

ta-da!

final result!!!

next up: washi tape!
in all the posts and instagram pictures i have seen, i havent seen anyone secure it past the twisting part.
im not sure how else to hold it so i thought "hey! some cute washi tape!"
sure enough it works and luckily i had the same colors.
for the pink i just cut down the middle so you couldnt see the Hooray all that well.

the pink tissue paper was longer than the gold paper but i didnt mind.
you can cut that to size as you please.
to loop them, you just run the string through the twist loop. and then once again to "secure" it but not too tight so you can move it around.
 |
| prints from kendra // board inspiration from Anne. |
i originally planned these for my window but i was a few short and feeling lazy to finish the rest. then this spot opened up and it was PERFECT! right underneath my Hello sign.
im hooked on this! i want to make a zillion more.
im thinking of making some for pen pals to send over the holidays!
just in case my instructions werent all that clear, you can catch it over on HGTV.
thanks for craftin' with me!
Subscribe to:
Posts (Atom)


Social Icons